Make clear photos easy.
Plan a still-car session with room to work. A complete, readable gallery matters more than a dramatic location or expensive camera.
The car
Wash, dry, and vacuum it. Remove personal belongings. Gather keys, included accessories, and records before you leave.
The place
Choose a quiet, legal parking spot with space on every side. Use soft daylight and an uncluttered background. Avoid strong glare and patchy shadows.
The phone
Clean the lens. Use landscape orientation and the normal 1× camera. Turn off filters and portrait blur; move your feet instead of using digital zoom.
Take one test frame and enlarge it. Can you distinguish the tire sidewall, panel edges, and paint from reflections? Fix focus or lighting now, before repeating the same problem across the entire shoot.
Build a complete walk-around.
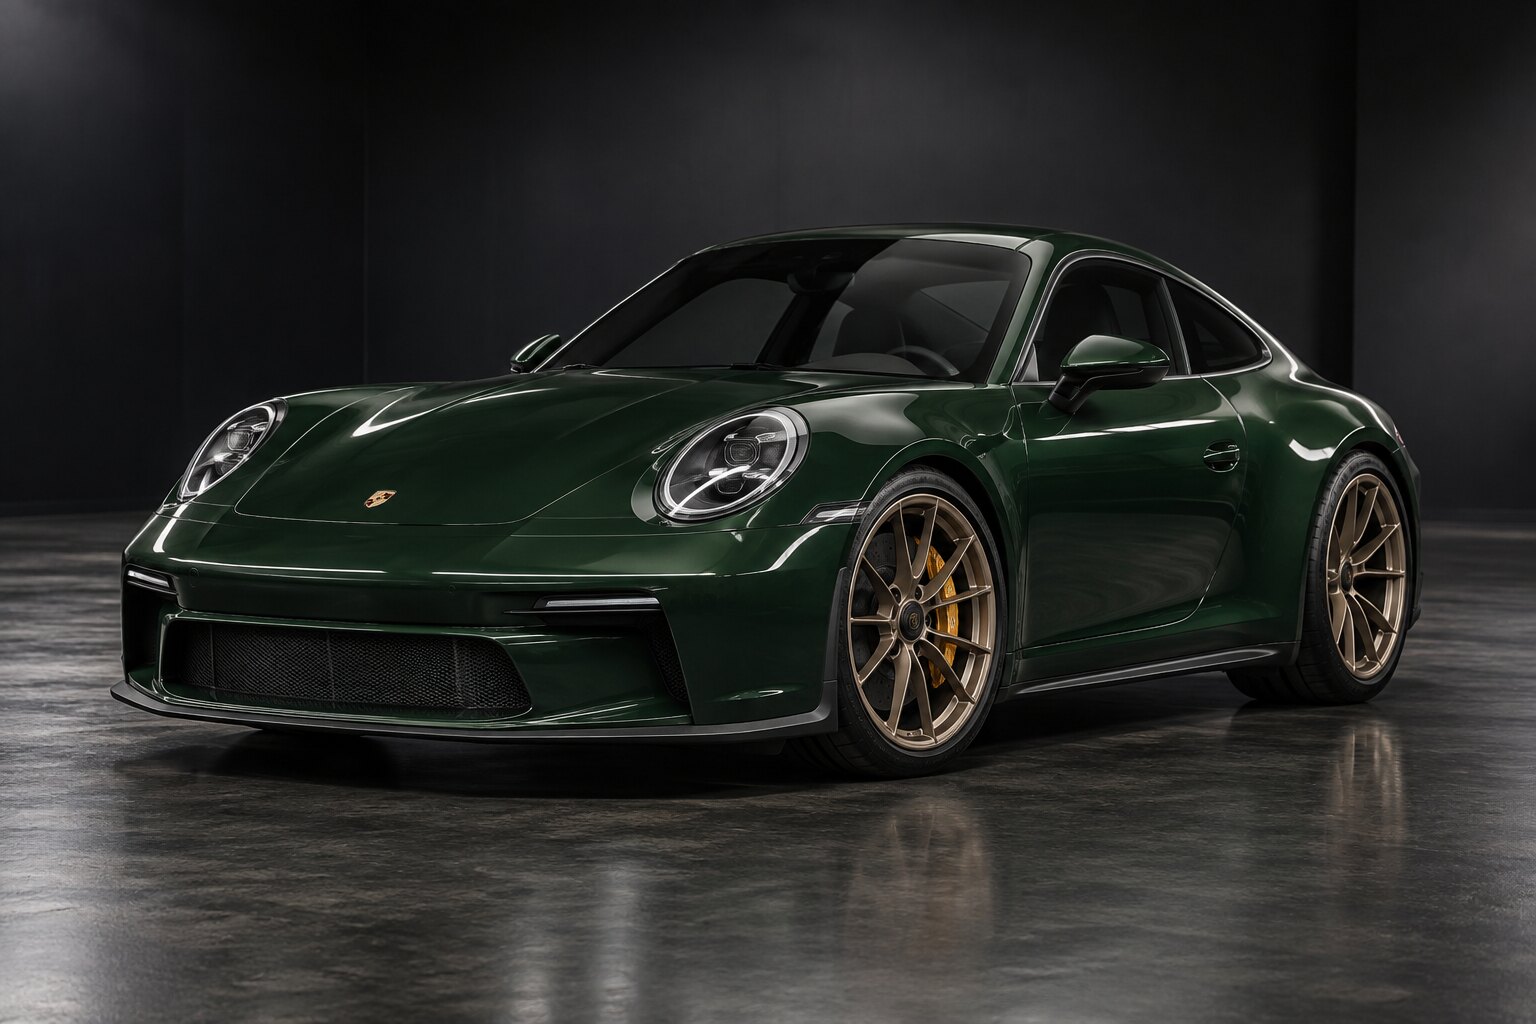
Begin with these eight views. Keep the whole car visible, use a consistent camera height, and leave breathing room around both bumpers. Close panels for the overview sequence.
- 01Front, straight on
- 02Driver-front corner
- 03Driver’s side
- 04Driver-rear corner
- 05Rear, straight on
- 06Passenger-rear corner
- 07Passenger’s side
- 08Passenger-front corner
Then get specific
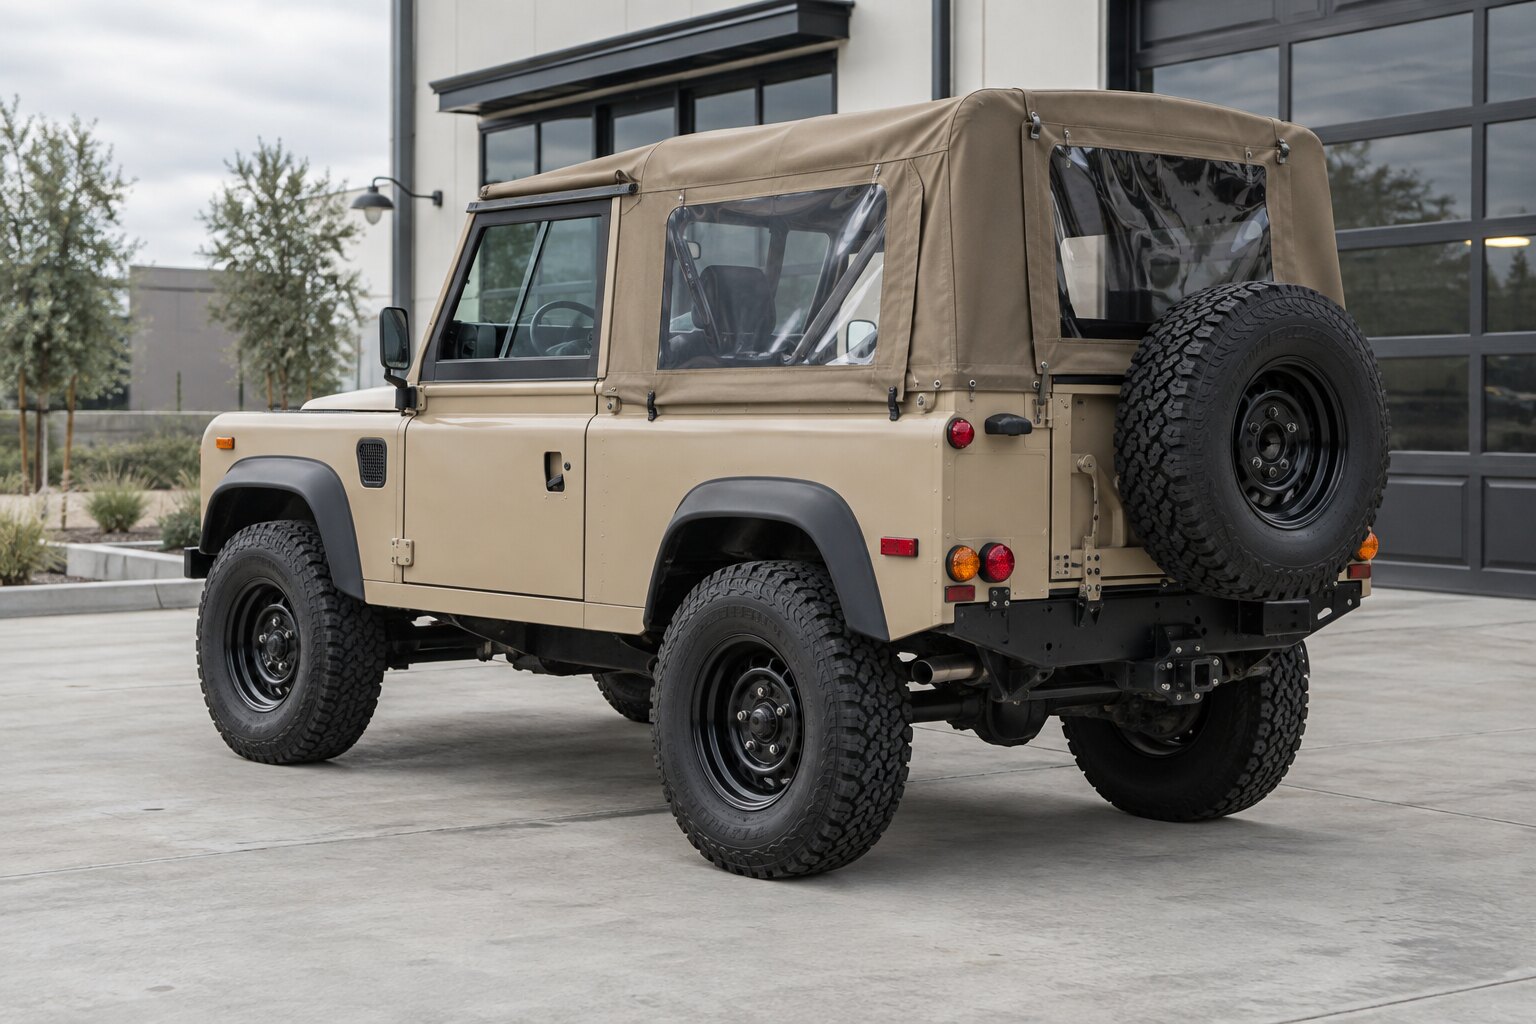
Give each wheel its own photo. Add glass, lamps, trim, badges, roof, seals, tire tread, and visible tire markings. Photograph unusual options and modifications separately.
Show each configuration
For a convertible or removable top, include open and closed views. Photograph any separate hardtop, cover, or roof panels that are part of the sale.
Let a bidder look inside.
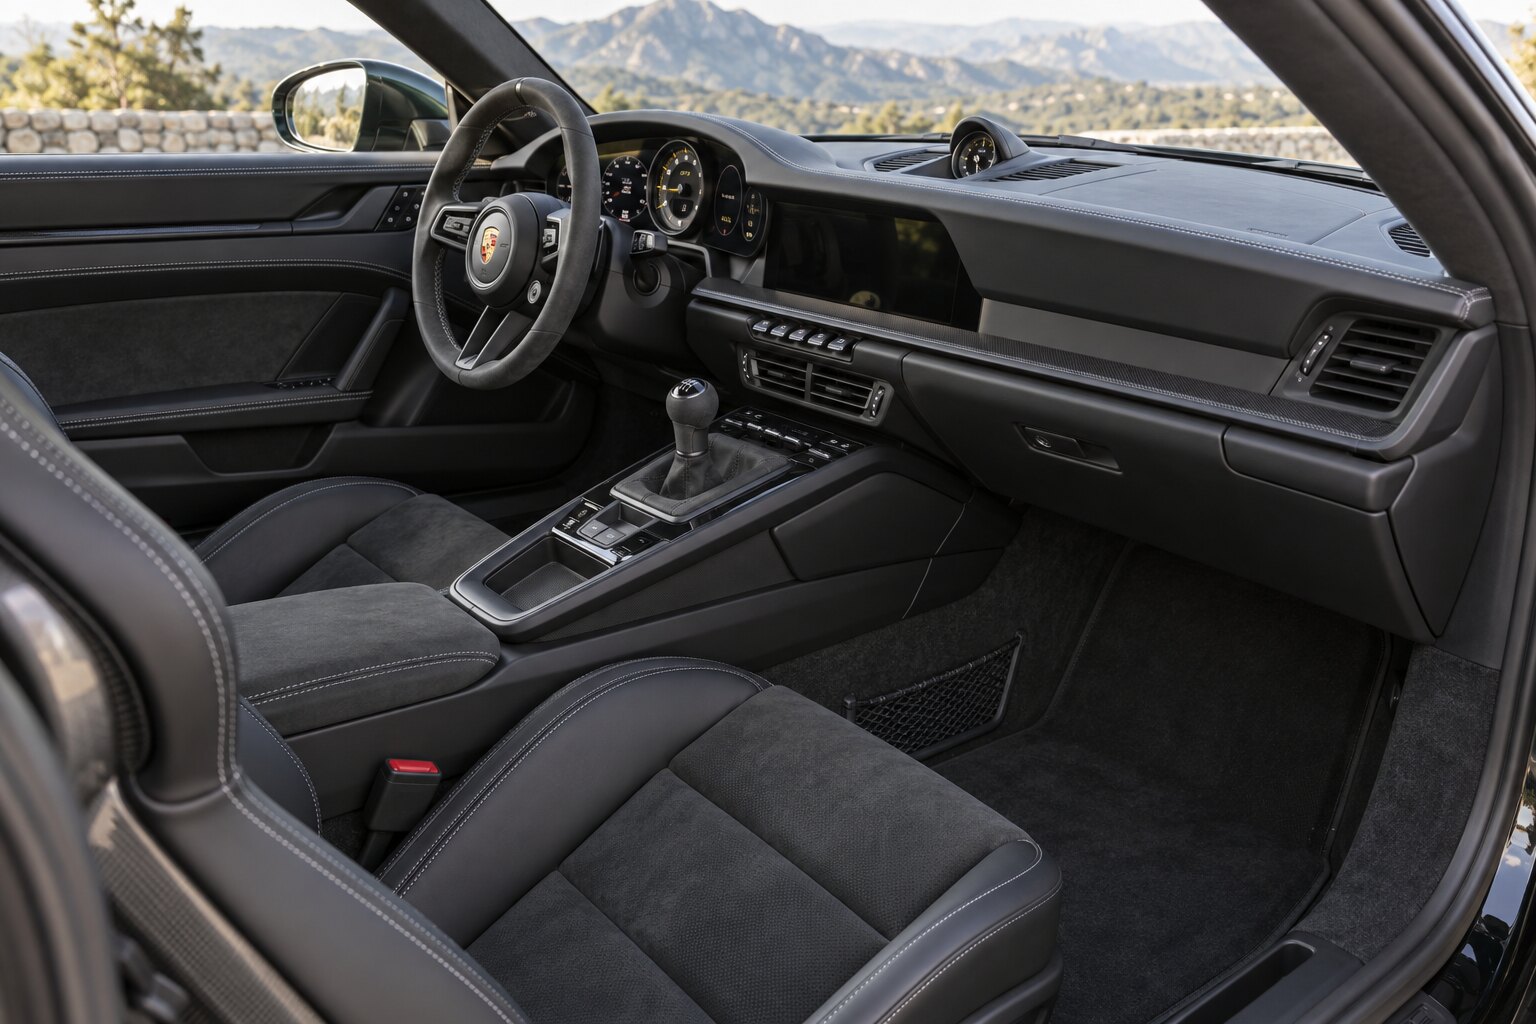
Use the open door to frame the cabin rather than trying to capture everything through the glass. Add light by changing the car’s position or opening the opposite door; keep the phone steady.
The complete interior
- Front seating from both doorways; rear seats if fitted.
- Dashboard, headliner, carpets, door panels, and cargo area.
- Storage compartments, spare-wheel area, and included tools.
The parts people touch
- Odometer close-up and a readable full instrument cluster.
- Seat bolsters, steering wheel, pedals, switches, and controls.
- Display screens, upholstery damage, and missing pieces.
Note whether the ignition is on and whether the engine is running when you photograph warning lights. A still image of an illuminated screen is not proof that every feature works.
The small stuff belongs in the story.
Use a two-photo approach for every issue: one wider image to locate it, then a close-up to describe it. Pair the filenames with a short note, such as “passenger rear wheel, outer-rim scrape.”
Record chips, dents, scratches, rust, cracked trim, and previous repairs you can identify. If a reflection hides a mark, change your viewing angle instead of editing the mark.
With the engine off and cool, capture the accessible bay and visible modifications. Don’t remove covers, touch hot parts, or reach near belts and fans for a photograph.
Ask a qualified shop for lift photos of the floor, structural rails, suspension, exhaust, and visible leaks or corrosion. Never get under a vehicle supported only by a jack. If an area cannot be safely photographed, say so.
Include the charge port, included charging equipment, and relevant on-screen information. Keep high-voltage components closed. A displayed range estimate is not a battery-health test.
Present it. Don’t reconstruct it.
Use recent, real photos of the actual vehicle. Don’t generate scenes, erase damage, change paint color, or replace parts with AI or retouching. Straightening and modest exposure corrections should preserve what a buyer would see in person. Keep the untouched originals.
Connect the photos to the car.
Capture readable vehicle identifiers, equipment labels, and relevant service history. Include manuals, spare keys, and accessories so the gallery explains exactly what accompanies the vehicle.
For a public gallery
Use flattened, redacted copies of records. Remove names, addresses, phone numbers, signatures, and payment details while keeping useful work descriptions, dates, and mileage readable. Reopen the exported copy to check the redactions.
Keep separate
Titles, identity documents, bank details, and unredacted ownership records do not belong in the public photo set. Keep originals private until Catch provides a verified, secure document-submission process.
Review it like you’re the buyer.
Arrange the gallery in a useful sequence: overview, exterior detail, cabin, mechanical condition, included items, then redacted records. Choose a current three-quarter exterior view as your lead image.
- Check at full size. Replace shaky, out-of-focus, duplicate, or unreadable frames. Don’t count a photograph as coverage if the detail is hidden.
- Keep original quality. Save a backup before exporting. Transfer original files, not screenshots or compressed messaging-app copies. JPEG is a practical sharing format; retain your camera originals too.
- Name for clarity. Use sequential names and a short description. Keep a separate issue list that points to the corresponding images.
- Check the whole set. Match the photos to the written description. If something changed after the shoot, update both before publication.
02_driver-side.jpg
31_rear-wheel-scrape.jpg
Your shot checklist.
Check off each group as you go. These checkmarks are temporary and stay on this page only. The print view includes just this list; your browser can also save it as a PDF.
Make the photos part of the disclosure.
Match visible wear and modifications to the written description. Flag missing records and anything you cannot verify. Buyers should be able to connect the story to the evidence, and the seller should review both before an auction opens.
Ready for the next step?
Bring the details together in your vehicle submission.
Original Catch seller guidance. Photography references: Bring a Trailer’s photography guide and Adobe’s car photography guide. Catch is not affiliated with either publisher. Example images are illustrations from Catch’s prototype gallery, not documentation of vehicles offered for sale.